Most nail stickers consist of two layers. The second layer is the backing paper, which is the base material for nail stickers. The basic choice for mass production is transparent PET or white release photo paper, which will be discarded after use. As we all know, PET and photo paper are all related to the petroleum raw materials that we depend on for survival. How to save and use them is more environmentally friendly, low-carbon and green while being fashionable and beautiful.
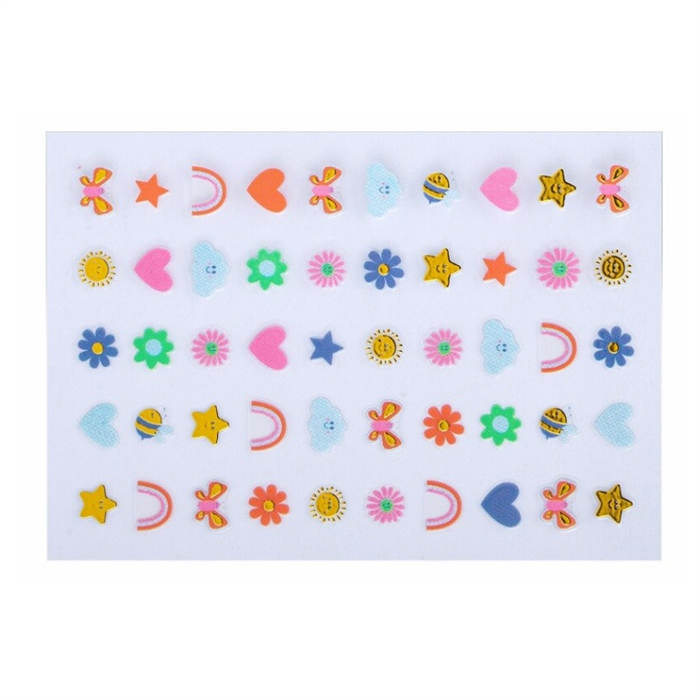
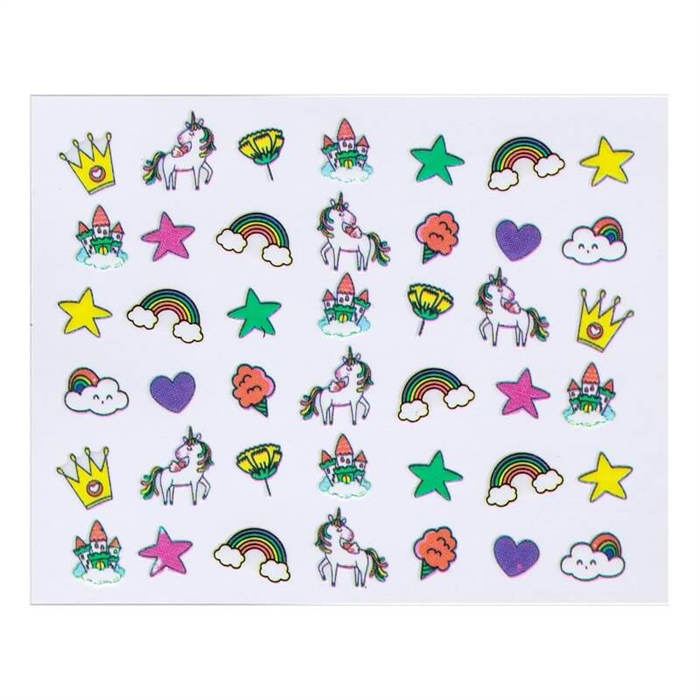
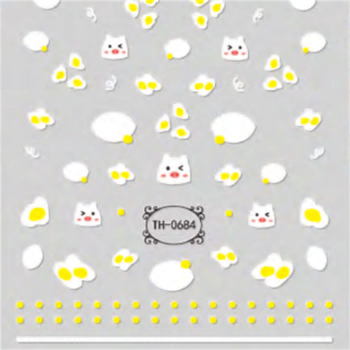
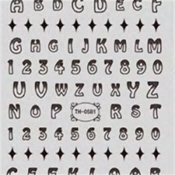
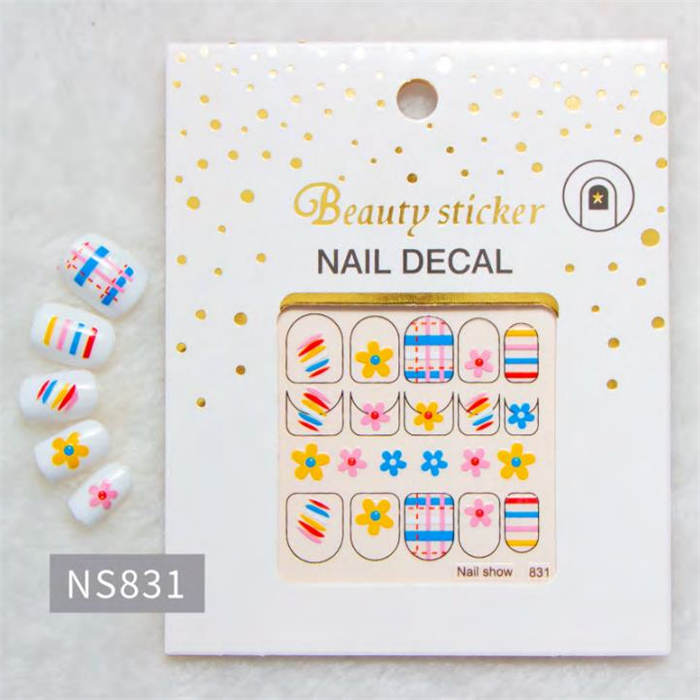
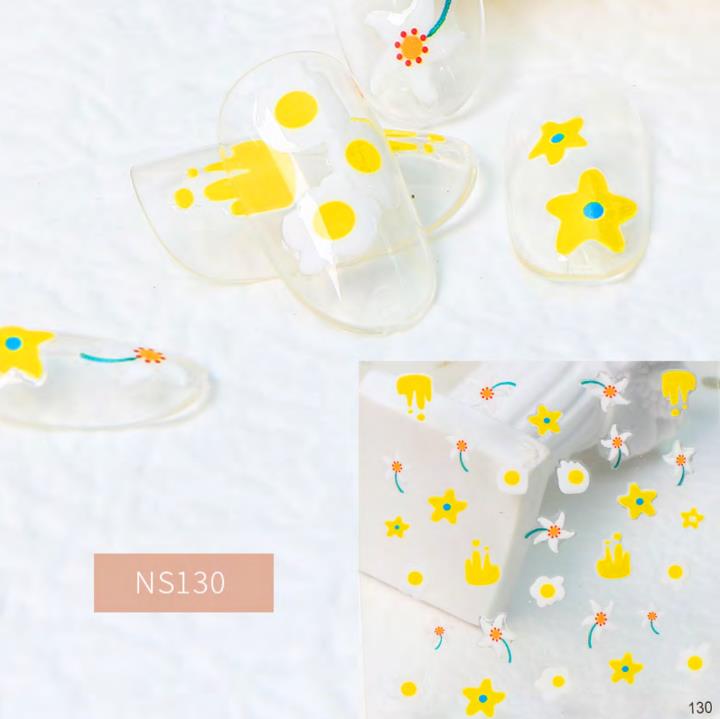
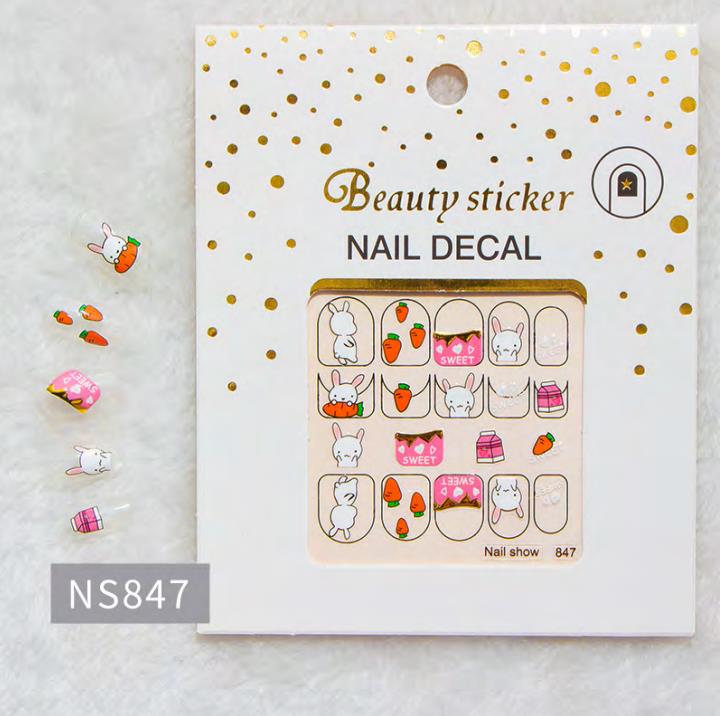
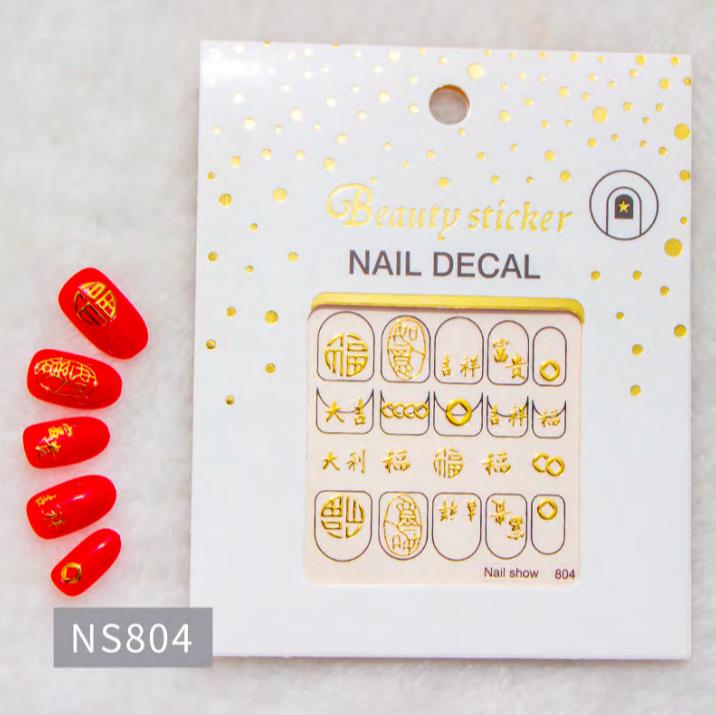
Cute Graffiti Kids Nail Stickers
1. Easy to wear and long lasting.
2. Safety: with the inspection certificate of professional institutionsthe raw materials are environmentally friendly, non-toxicand do not hurt hands.
3. Hundreds of designs in stock for choosing. and no MOQ request for the stock designs.
4. Provide customized packaging service.
5. High quality & Fast Delivery.
6. Feel free to use with any nail polish color you like.
Product Parameter
| Product Name: | Cute Graffiti Kids Nail Stickers |
| Brand: | OEM |
| Code NO.: | |
| Main Material: | Nail Polish |
| Color: | CMYK/PMS Color/Pattern/Glitter |
| Size: | Customized |
| MOQ: | 1000pcs for custom designs; No MOQ request for the stock designs |
| Wholesale: | Support mixed wholesale for the stock designs |
| Lasting time: | Around 2 weeks |
| Feature: | Eco-friendly/Customized Package Service |
| Sample: | Free sample available |
| Packing: | Opp Bag |
How To Apply
1.Apply clear base coat or nail polish to your nails and allow them to dry
Choose a color of nail polish or a clear coat and brush it onto each of your nails. Allow your nails to dry fully before moving onto the next step.
2.Make sure your nails are completely dry
If your nail polish is not completely dry,the sticker may not attach properly or lift wet polish up from the nail.
3.Choose nail decal and placement
Using tweezers, place the decal in the desired spot on your nail.
4.Press the nail decal gently with a tool
Ensure soft surface of the nail stickers adheres to nail 100% without any wrinkles or air bubbles.
5.Apply clear top coat to all your nails
The top coat will turn your decals into a type of polish. Wait for your nails to dry and then you’re all done!
Other Products
How To Stick Nail Stickers Is Not Easy To Fall Off
To ensure that nail adhesive stickers stay in place and don't easily come off, you can follow these steps:
1. Prepare the nails: Start with clean, oil-free nails. Use a gentle cleanser to remove any dirt or oils. Then, trim and shape your nails neatly.
2. Positioning the sticker: Select a sticker that fits your nail size and try it on your nail. Make sure the sticker is the right size, not covering your skin or hanging over the nail edges.
3. Apply the sticker with care: Gently place the sticker on top of your nail, making sure there are no wrinkles or air bubbles. Starting from the center of the sticker, press it down lightly and ensure it adheres completely to the nail surface.
4. Smooth out the edges: Use a nail file or cuticle trimmers to gently file the edges of the sticker, making it flush with the shape of your nail. This helps reduce the chances of the sticker getting caught or curling up.
5. Reinforce with a top coat: To enhance the longevity of the sticker, you can apply a layer of clear nail polish or top coat over it. This will help secure the sticker in place and provide additional protection.
Remember to avoid excessive contact with liquids, such as water or harsh chemicals, on the sticker to prevent it from losing its adhesion. Also, avoid using oil-based care products on the nail surface, as oils can affect the stickiness of the adhesive.
By following these steps, you can ensure that nail adhesive stickers stay put and don't easily come off, making your nail art more long-lasting and beautiful.
How Do I Remove Nail Sticker Glue?
To remove nail sticker glue, you can follow a simple procedure. Soak your nails in warm soapy water for a few minutes to loosen the glue. Gently scrape off any remaining glue using a cuticle pusher or a wooden orange stick.
If there are stubborn residue or adhesive, you can use a nail polish remover containing acetone. Apply a small amount on a cotton ball, place it on the glue, and wrap your nail in aluminum foil for a few minutes. Afterward, gently wipe away the softened glue with the cotton ball.
In summary, nail sticker glue is easy to use by applying a thin layer on the nail bed and securing the sticker onto it. The glue can last for a few days to a week, depending on various factors. When removing the glue, soaking the nails and gently scraping off the residue should do the trick. However, if needed, nail polish remover with acetone can help in stubborn cases.
How Do I Apply Nail Decals For The Best Results?
To achieve the best results when applying nail decals, start by preparing your nails. Ensure they are clean and dry before applying a base coat of nail polish. Next, carefully cut out the desired decal from the sheet and soak it or apply water to activate it, depending on the specific type. Gently slide the decal onto your nail, positioning it properly. Once in place, press down and smooth out any bubbles or wrinkles. Finish off with a top coat to seal and protect the decal.
What Are The Best Types Of Nail Art Stickers?
When it comes to the best nail art stickers, there are various options available to suit different preferences. Some popular choices include 3D nail art stickers, metallic nail art stickers, watercolor nail art stickers, and floral nail art stickers. 3D nail art stickers add dimension to your nails, while metallic stickers offer a glamorous and shiny look. Watercolor and floral stickers provide a delicate and artistic touch to your nail designs. The best type of nail art stickers depends on your desired style and the look you want to achieve.
How Do I Apply Glue Stickers For Nails?
To apply glue stickers for nails, start by preparing your nails. Ensure they are clean and dry before applying a base coat of clear nail polish. Next, apply a small amount of nail glue onto your nail, where you want to place the sticker. Carefully peel off the sticker from its sheet using tweezers or your fingers and press it onto the glued area. Gently hold it in place for a few seconds to ensure it adheres properly. Finish off with a layer of clear top coat to seal the sticker and add shine.
Are Nail Adhesive Stickers Damaging To Nails?
Nail adhesive stickers are generally considered to be less damaging to nails compared to traditional nail polish or acrylic nails. The adhesive used in these stickers is typically gentle and can be easily removed without causing much harm to the nail bed. However, it's important to properly apply and remove the stickers to minimize any potential damage.
How Do You Apply Nail Polish Stickers?
Applying nail polish stickers is a relatively simple process that can be done at home. Here are the general steps to follow:
1. Start with clean, dry nails: Ensure that your nails are free from any previous polish, oils, or debris.
2. Select the appropriate size: Choose a nail polish sticker that matches the size of your nail beds. If needed, gently file or trim the sticker to fit your nails perfectly.
3. Peel off the sticker: Carefully peel the nail polish sticker from its backing, making sure not to touch the adhesive.
4. Apply the sticker: Align the sticker with your nail bed, starting from the base of the nail. Press the sticker down firmly and smooth out any wrinkles or bubbles.
5. Trim and file: Use a nail file to remove any excess sticker material by gently filing in a downward motion.
6. Seal with a top coat: To enhance the longevity of the nail polish sticker, apply a clear top coat over the entire nail, including the sticker, to seal in the design.
Remember to follow the specific instructions provided by the brand you choose, as application methods may slightly vary.
How Do You Store Fingernail Decals?
To store fingernail decals and ensure their longevity, follow these tips:
1. Keep them in a cool, dry place: Excessive heat or humidity can affect the adhesive properties and overall quality of the decals.
2. Store them in airtight containers: Placing the decals in small sealable bags or containers can protect them from moisture and dust.
3. Label and organize: If you have multiple sets or designs, consider labeling and organizing them by theme or color for easy access.
4. Avoid bending or creasing: Handle the decals with care to prevent any bends or creases, as this can affect their appearance when applied to the nails.
By storing fingernail decals properly, you can ensure that they remain in good condition and ready to use whenever you want to add a touch of creativity to your nails.
How Long Do Custom Nail Stickers Last?
The durability of custom nail stickers can vary depending on factors such as the quality of the materials used and the application technique. On average, custom nail stickers can last anywhere from a few days to up to two weeks, similar to regular nail stickers.
To help maximize their lifespan, ensure that your nails are clean and properly prepped before applying the custom stickers. Additionally, apply a clear top coat over the stickers to provide extra protection and seal in the design. Avoid excessive exposure to water and activities that may put strain on the stickers, such as using nails as tools.
By properly applying and caring for custom nail stickers, you can enjoy your unique designs and extend their wear time.
How Do You Remove Custom Nail Decals?
Removing custom nail decals is similar to removing regular nail stickers or decals. You can follow these steps:
1. Soak the nails: Prepare a bowl of warm water and soak your nails for a few minutes. This helps loosen the adhesive of the decals.
2. Gently lift the decals: Use a wooden cuticle stick or a soft cloth to gently lift the edges of the decals. Start from one side and work your way across the nail.
3. Cleanse the nails: After removing the decals, wash your hands with mild soap and water to remove any residue.
4. Moisturize the nails: Apply a nourishing cuticle oil or moisturizer to replenish moisture to the nails.
Be gentle when removing custom nail decals to avoid damaging the nails. If needed, you can use a non-acetone nail polish remover to help dissolve any remaining adhesive.
Copyright © 2025 Dongguan Blueprint Printing Company All rights reserved.