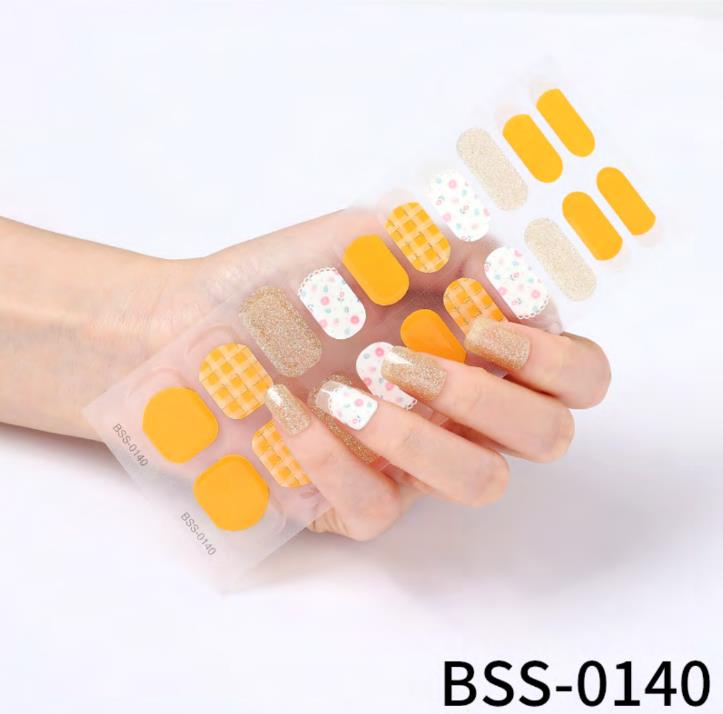
Lemon Floral Semi-cured Nail Strips
Features:
1. High-quality materials: Our Nail Stickers are made of high-quality materials, which are non-toxic and harmless to the human body, so you can use them with confidence.
2. Strong stickiness of the stickers: Our nail art stickers have strong stickiness, which can be firmly attached to the nails and not easy to fall off.
3. Multiple styles and colors: Our nail art stickers have many styles and colors to choose from, which can meet the needs of different customers.
4. Easy to use: Our nail art stickers are very easy to use, no professional skills are required, and it only takes a few minutes to complete the nail art.
Product Parameter
| Product Name: | Lemon Floral Semi-cured Nail Strips |
| Brand: | OEM |
| Code NO.: | |
| Main Material: | Nail Polish |
| Color: | CMYK/PMS Color/Pattern/Glitter |
| Size: | Customized |
| MOQ: | 1000pcs for custom designs; No MOQ request for the stock designs |
| Wholesale: | Support mixed wholesale for the stock designs |
| Lasting time: | Around 2 weeks |
| Feature: | Eco-friendly/Customized Package Service |
| Sample: | Free sample available |
| Packing: | Opp Bag |
How To Apply
1.Prep Nails
We suggest removing your cuticles with a gentle cuticle remover before applying your semi-cured nail wraps. If the wrap is applied on the cuticle, peeling or chipping may occur.
2.Choose the appropriate size of semi-cured nail wraps for your nail
Just like with classic nail wraps, semi-cured nail wraps have some stretch to them. It can be the appropriate size by stretching or trimming.
3.Remove plastic cover from wrap and peel from base
Take a semi-cured nail wraps and remove it from the packaging.
4.Place onto nail plate away from any skin or cuticle
Press wrap firmly onto nail, use provided wooden cuticle pusher to smooth out any bubbles.
5.Some find it helpful to use fingernail clippers to trim off excess gel wraps before filing
Gel Nail Stickers are thicker than classic line, so a little extra help never hurt!
6.File off excess nail wrap lightly
You're good at this part!
7.Cure with an LED lamp
Start by curing your wrap for 1 minute, then check to see if they have hardened. If more curing is needed, cure for 1 minute increments until sufficiently hardened.
Tip: Be sure to put leftover wraps back into black packaging, so the wraps stay semi-cured. Exposure to UV rays from the sun will cause the wraps to harden before applied.
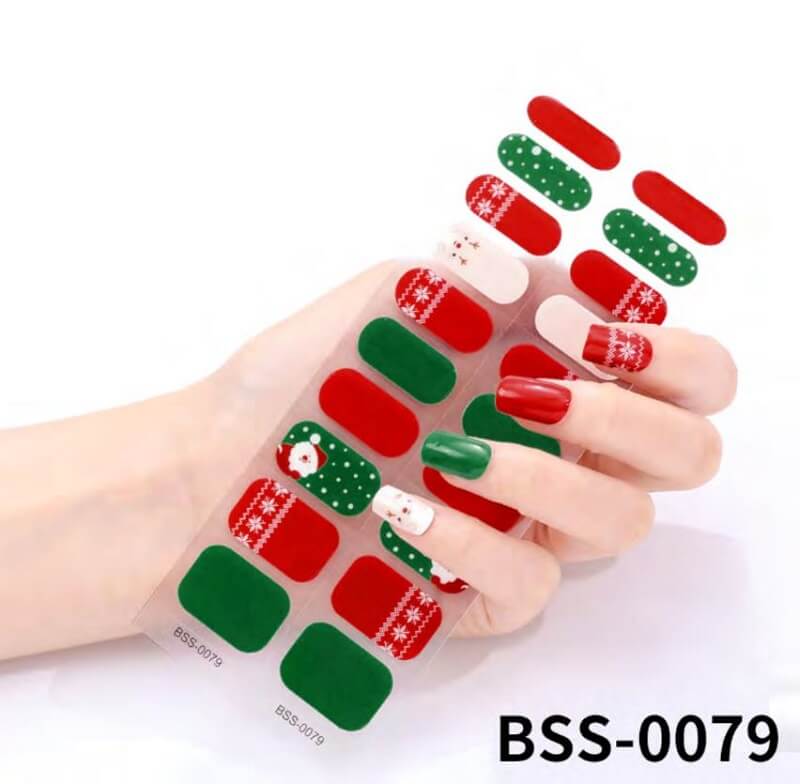
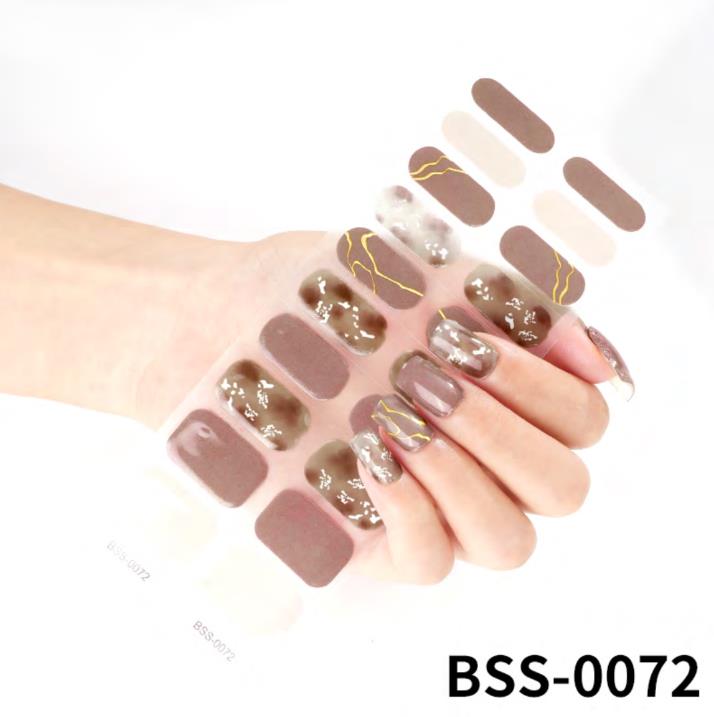
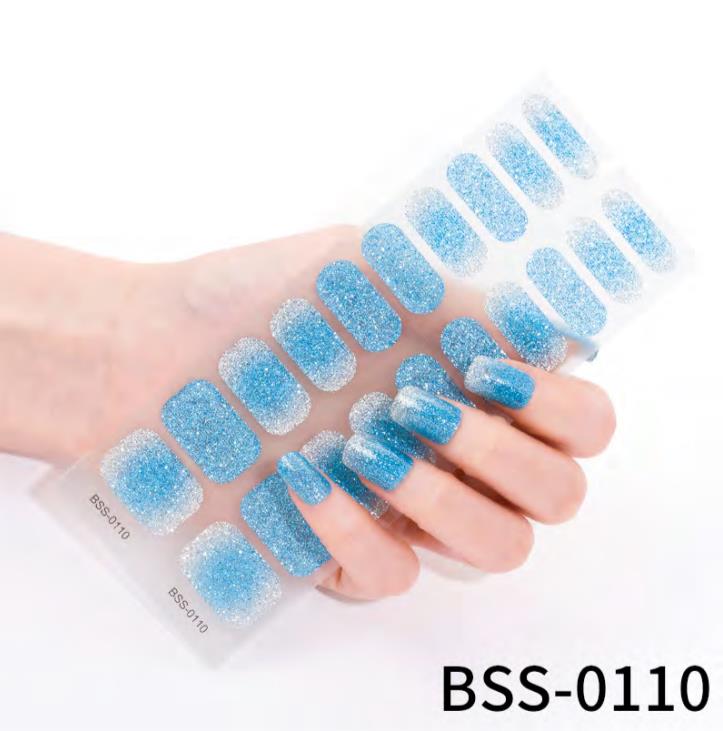
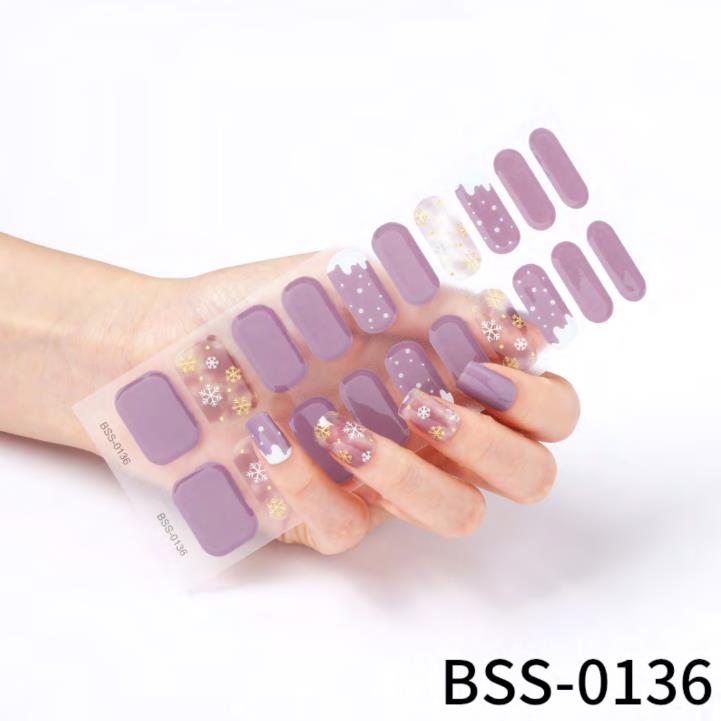
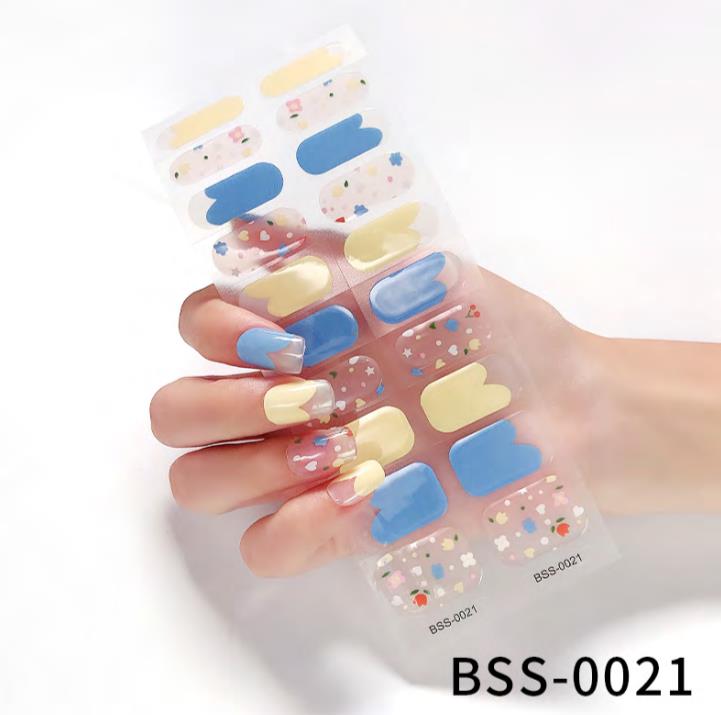
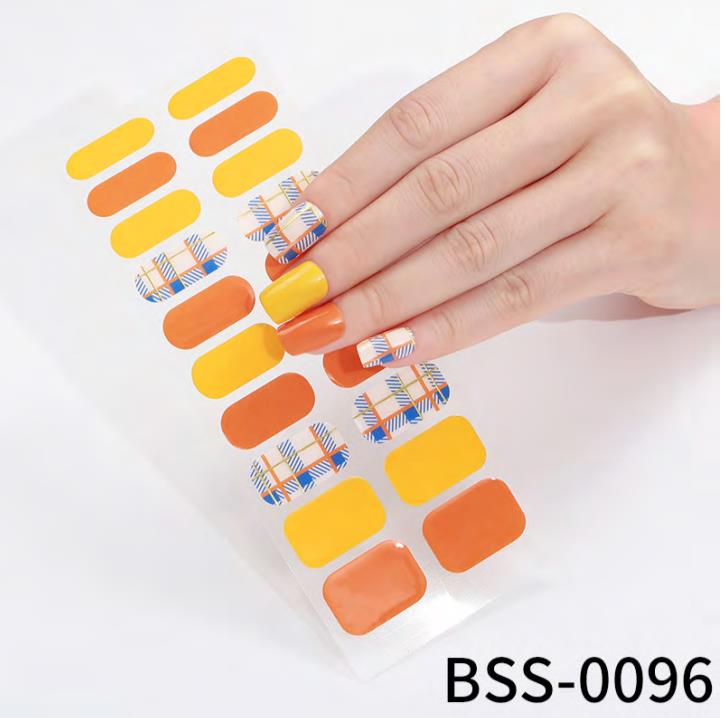
Other Products

Transparent nail wraps, also known as clear or see-through nail wraps, are a versatile option that allows you to create a subtle and natural look or serve as a base for more complex nail art. Here's how you can use transparent nail wraps:
1. Prepare your nails: Clean and shape your nails as desired. Remove any old nail polish or residue and ensure your nails are dry and free from oils.
2. Select your transparent nail wraps: Look for nail wrap brands that offer transparent options. These wraps are typically made from a thin, clear material that adheres to your nails.
3. Measure and trim the wraps: Measure the size of each wrap against your nails. Trim them if needed, so they match the length and shape of your nails. Aim for the wraps to be slightly smaller than your nails for a better fit.
4. Peel off the wrap: Remove the clear plastic layer covering the adhesive side of the nail wrap.
5. Apply the wrap: Align the wrap with your cuticle, ensuring it's centered and covers the entire nail surface. Starting from the cuticle area, press the wrap down firmly and smooth it out towards the edges. Avoid wrinkles and air bubbles by applying even pressure.
6. Trim and file: Once the wrap is applied, use a nail file or buffer to gently remove any excess wrap around the edges. File in a downward motion to prevent lifting or peeling.
7. Optional: Add nail art or decoration: Transparent nail wraps provide a blank canvas for your creativity. You can use them as a base for other nail art techniques, such as stamping, hand-painting, or applying nail decals and stickers. The clear background allows the design to stand out.
8. Seal with a top coat: To protect the nail wrap and add longevity to your manicure, apply a clear top coat over the entire nail. Allow the top coat to dry completely.
Transparent nail wraps offer a subtle and clean look, perfect for those who prefer a minimalist aesthetic or want to showcase their natural nails. They also provide a versatile base for creating various nail art designs. Enjoy your manicure!
Clear Nail Wraps:
To store clear nail wraps, follow these steps:
1. Clean and dry: Ensure that the nail area is clean and free from oils. Use hand soap or warm water to clean the nail surface, making sure there is no residue.
2. Keep dry: Before applying the nail wraps, make sure the nail surface is completely dry. You can gently pat the nails with a towel to ensure they are free from water and oils.
3. Packaging: Place the unused clear nail wraps back into their original packaging, and try to avoid exposing them to direct sunlight or humid environments.
4. Seal for storage: Store the nail wraps in a sealed bag or small box. This will prevent dust and moisture from getting in and help maintain their quality and adhesive properties.
5. Storage environment: Keep the nail wraps at room temperature, avoiding excessively hot or cold conditions. Extreme environments can affect their texture and adhesion.
Following these steps will help maintain the quality and longevity of your clear nail wraps. When you're ready to use them again, ensure that the nail wraps are not expired or damaged. Remember, different brands of nail wraps may have specific storage and usage instructions, so refer to the brand's guidelines for best practices.
Sheer Nail Wraps:
The longevity of sheer nail wraps depends on various factors, such as the brand, application technique, and individual nail condition. On average, they can last up to 1-2 weeks. However, keep in mind that excessive exposure to water, rough activities, or oily substances can shorten their lifespan.
When To Use Transparent Nail Stickers:
Here are some occasions where you can use transparent nail stickers:
Daily wear: You can use transparent nail stickers for daily activities to add a touch of decoration and personality to your nails. They are suitable for any occasion, such as work, a casual outing, or shopping.
Special events: Transparent nail stickers are perfect for special events or celebrations. Whether it’s a birthday party, wedding, graduation ceremony, or any other special gathering, you can choose stickers with sparkles or special patterns to make your nails stand out.
Holidays and festivals: Transparent nail stickers can also be used for holidays and festive occasions. For example, during Christmas, Halloween, Valentine’s Day, or any other holidays, you can select stickers that have corresponding themed designs to match the festive atmosphere.
Collection and display: Some people enjoy collecting different styles of transparent nail stickers to showcase their nail art collection. You can display your collection on a nail art display rack or create your own nail art album.
Clear Nail Polish Strips Maintenance Method:
To maintain clear nail polish strips, follow these tips:
1. Proper Application: Ensure that your nails are clean and dry before applying the clear nail polish strips. Follow the instructions provided by the manufacturer for the correct application technique.
2. Gentle Handling: Avoid excessive rubbing or scratching your nails, as this can damage the clear nail polish strips. Be cautious when performing tasks that may put stress on your nails, such as opening containers or using tools.
3. Avoid Harsh Chemicals: Limit your exposure to harsh chemicals that can cause damage to the nail strips. When cleaning or doing household chores, consider wearing gloves to protect your nails.
4. Nail Protection: Apply a clear top coat over the clear nail polish strips to provide an additional layer of protection. This can help prevent chipping and extend the lifespan of the nail polish strips.
5. Moisturize: Regularly moisturize your nails and cuticles to keep them hydrated. This can help prevent dryness and brittleness, which can affect the lifespan of the nail polish strips.
6. Gentle Removal: When you're ready to remove the clear nail polish strips, gently peel them off from one side of your nail. Avoid forcefully pulling or tearing them off, as this can damage your natural nails.
By following these tips, you can maintain the appearance and longevity of your clear nail polish strips.
Copyright © 2025 Dongguan Blueprint Printing Company All rights reserved.