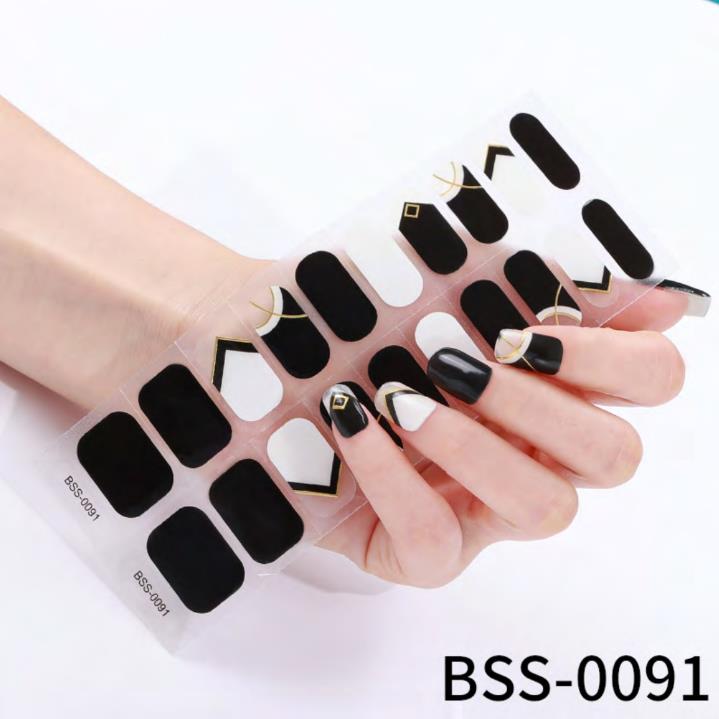
Semi Cured Gel Nail Wraps are a quick and easy manicure product that can be easily done at home, but proper removal is just as important. Improper removal methods can result in damaged or weakened nails, so here are some steps and tips to help you remove Semi Cured Gel Nail Wraps correctly and safely.

1. Preparation:
Before you begin removing Semi Cured Gel Nail Wraps, make sure you have some basic tools like pure ethanol or acetone, a nail trimmer, a nail file, cotton balls, tin foil, and nail polish. These tools will help you complete the removal process easily.
2. Cut your nails short:
Using a nail trimmer, trim your nails to the desired length. This reduces the inconvenience during Semi Cured Gel Nail Wraps removal and helps reduce the risk of nail damage.
3. Soak your hands:
Prepare a shallow basin or bowl, fill it with warm water and add a small amount of washing up liquid. Soak your hands in water for about 10-15 minutes to soften the Semi Cured Gel Nail Wraps and make them easier to remove.
4. Use acetone or pure ethanol to dissolve the glue layer:
Take a cotton ball, moisten it with acetone or pure ethanol, and apply it to your nails, especially at the base where you're removing Semi Cured Gel Nail Wraps. This dissolves the adhesive layer, making it softer and easier to peel off.
5. Use a nail file to gently break the seal:
Gently break the seal on the surface of each Semi Cured Gel Nail Wraps to help the dissolved gel penetrate more easily to the bottom. But be careful not to wear down or weaken your nails excessively.
6. Use tin foil to wrap:
Soak a cotton ball in acetone or pure ethanol, then wrap it around each nail, then wrap it tightly with a piece of tin foil. This seals the acetone or pure ethanol to the nail surface, speeding up the dissolution process of Semi Cured Gel Nail Wraps.
7. Wait about 10-15 minutes:
Let the nails sit in the wrapped condition for approximately 10-15 minutes to ensure that the Semi Cured Gel Nail Wraps are completely dissolved. You can help speed up the dissolving process by gently pressing the tin foil with your fingers.
8. Gently remove Semi Cured Gel Nail Wraps:
After the waiting time is up, carefully remove the foil piece from each nail and use a nail trimmer or cotton swab to gently peel off the remaining Semi Cured Gel Nail Wraps. If there is any residue that is difficult to remove, you can lightly buff it with a nail file.
9. Use nail polish to moisturize your nails:
After removing Semi Cured Gel Nail Wraps, your nails may feel dry and brittle. Therefore, it is very important to use nail polish to moisturize and repair nails. Apply a layer of nail polish and let it absorb to help restore the health of your nails.
10. Pay attention to keeping your nails healthy:
Take extra care to keep your nails healthy after removing Semi Cured Gel Nail Wraps. Avoid frequent use of chemicals or nail products and try to give your nails some time to rest to return to their natural healthy state.
Proper removal of Semi Cured Gel Nail Wraps is essential to maintaining healthy nails. By following the steps and tips above, you can complete the removal process easily and safely and ensure your nails stay healthy and beautiful for the rest of your life.
Copyright © 2024 Dongguan Blueprint Printing Company All rights reserved.