How to Apply Nail Letter Stickers Like a Pro: Tips, Tools & Techniques for Perfect Nail Art
In the ever-evolving world of nail design, Nail Letter Stickers are emerging as a popular and stylish way to personalize manicures. Whether you want to spell out your name, show off your initials, or create fun and motivational messages on your nails, letter stickers offer the perfect mix of creativity and convenience.
But how do you apply nail letter stickers like a pro? Let’s explore step-by-step instructions, pro tips, and insider secrets to help you achieve salon-level results at home.

Why Choose Nail Letter Stickers?
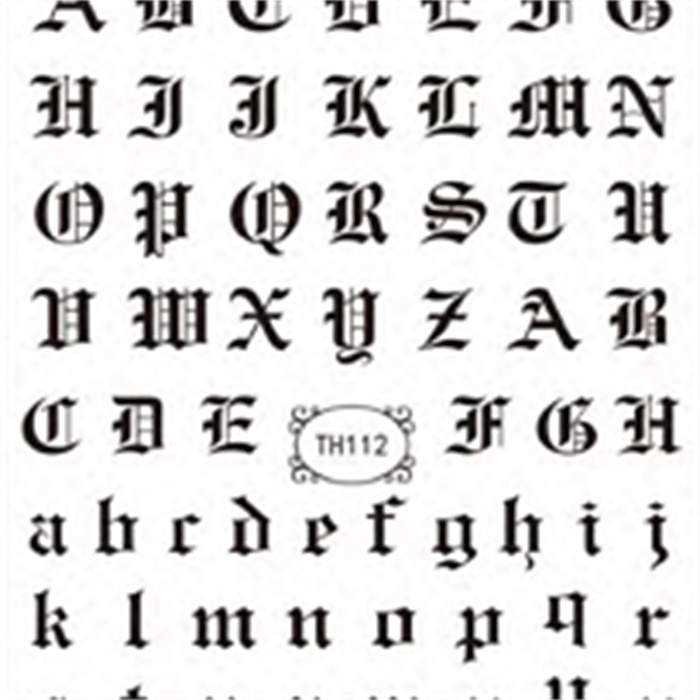
Nail letter stickers are thin adhesive decals shaped like alphabets. Available in various fonts, colors, and finishes (matte, metallic, holographic), they are ideal for:
Customizing nail art with names, initials, or slogans
Matching themes for holidays, weddings, or fashion events
Easy, mess-free alternatives to hand-painting letters
Compared to stamping or freehand painting, letter stickers are easier to use and more consistent in appearance.
Step 1: Prep Your Nails
Before applying any Nail Sticker, proper nail prep is essential:
Start with clean, dry nails. Remove old polish and oils using a non-oily nail polish remover.
Shape your nails and push back cuticles to ensure a smooth canvas.
Buff the surface gently to remove shine — this helps the stickers adhere better.
Step 2: Apply a Base Coat
Use a clear or neutral base coat to protect your natural nail and create a smooth foundation. Allow it to dry completely.
Step 3: Apply Your Base Color (Optional)
Choose a nail polish color that complements your letter stickers. Nude, white, and pastel shades are great for readability. Wait until the polish is fully dry before moving on.
Step 4: Choose and Position Your Stickers
Using tweezers or a dotting tool, gently peel the letter sticker from the backing. Plan your layout in advance:
For straight alignment, you can use striping tape or a small piece of transparent tape as a guide.
Stick the letter onto the nail and press gently from the center outward to avoid air bubbles or creases.
Pro Tip:
Don’t touch the adhesive side with your fingers to maintain stickiness.
Step 5: Secure With a Top Coat
Seal the sticker in place using a high-quality top coat. This prevents lifting and extends the life of your design.
For extra durability, apply two thin layers of top coat — especially around the sticker’s edges. Let each layer dry completely.
Pro Tips for Long-Lasting Nail Letter Art
Use thin stickers: The thinner the sticker, the more seamless it looks on your nail.
Avoid water for 1 hour after applying top coat to allow full curing.
Double-seal: For longer wear, apply another layer of top coat two days after initial application.
Use a UV top coat if you have a gel lamp — it offers maximum shine and durability.
Avoid lotions or oils immediately after application as they may weaken the adhesion.
Nail letter stickers are versatile enough for:
Birthdays – Spell out the birthday girl’s name or initials.
Weddings – Add "LOVE", "BRIDE", or the couple’s initials.
Fashion shoots or events – Customize slogans or hashtags.
School or team spirit – Use initials of your team, school, or group.
Everyday inspiration – Words like “SMILE,” “HOPE,” or “BOSS” for daily motivation.
Letter stickers now come in a wide range of styles to match any personality or occasion:
Metallic gold or silver – Perfect for classy, elegant looks
Neon colors – Great for summer or festival vibes
Holographic finishes – Trendy and bold
Minimalist fonts – Sleek, clean, and modern
Cursive letters – Romantic and soft
Mixing different styles can also create a playful contrast.
Nail Letter Stickers make nail art easier, faster, and more creative than ever. With just a few simple tools and techniques, anyone can apply them like a pro — no artistic skill required.
Whether you’re a beauty blogger, salon technician, or DIY nail lover, these versatile accessories bring your fingertips to life with personality and flair.
So, why not spell it out in style? Try nail letter stickers today and wear your words with pride!
Previous:
Copyright © 2025 Dongguan Blueprint Printing Company All rights reserved.